After cleaning the front seats with a proper wet and dry vacuum cleaner, I though the mould was gone and the seats good as new(ish). How wrong could I be ! After sitting in my spare bed room for a couple of days drying out, the mould started to re appear again mainly on the seat base.
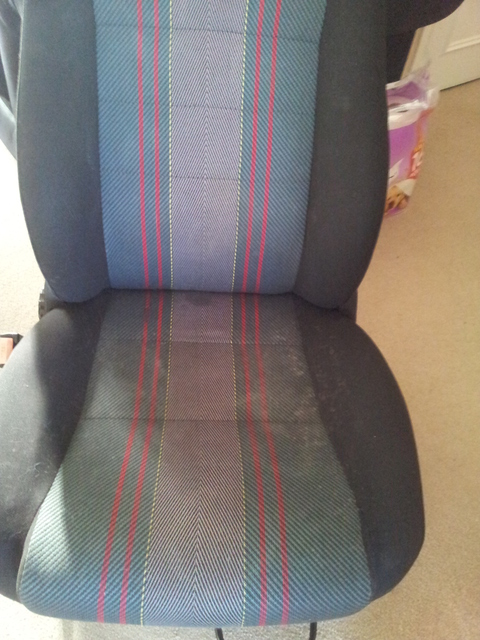
After doing a bit of research I found a product on a car detailing forum, which had good reviews when it came to removing mould. The product contains an enzyme which breaks down organic matter, which should hopefully kill the mould for good. It is also supposed to remove bad smells as well.

I can confirm that it does smell very nice, and has certainly got rid of the mouldy smell. The mould also has appeared to stop growing, but has left some staining which I have yet to attack properly with a more intense upholstery cleaner. This is how the seats are looking now.
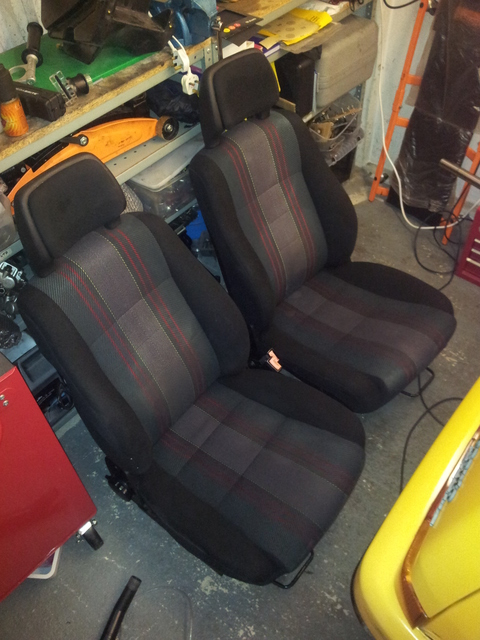
Rear seats after a quick wipe over.
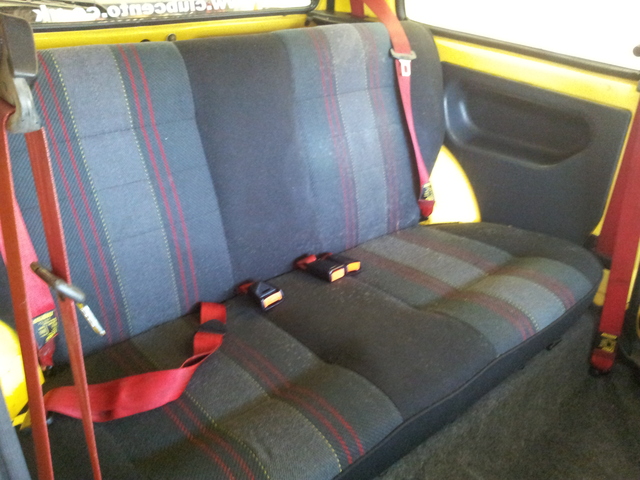
Rear seats after one go over with the wet and dry along with the mould killer.
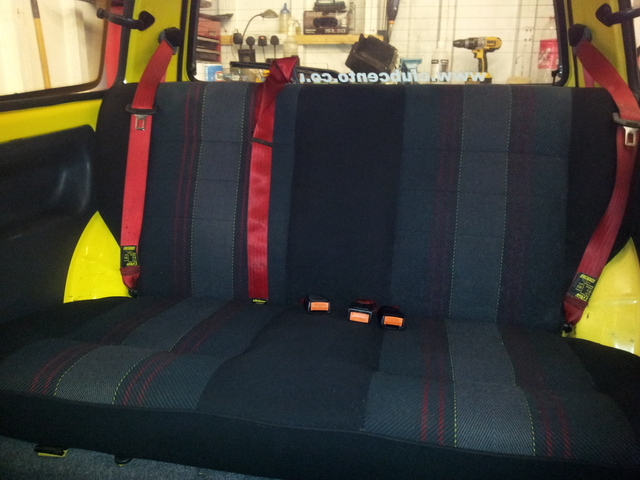
Once I give the seats another clean with some harder cleaner, hopefully they will be ready to be refitted and the stains and mould gone for good.
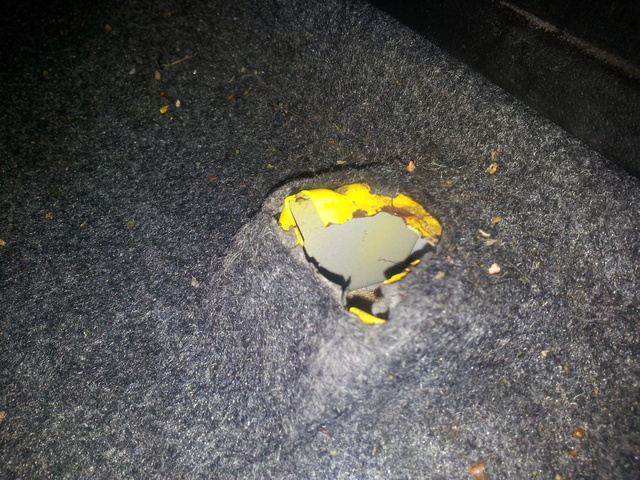
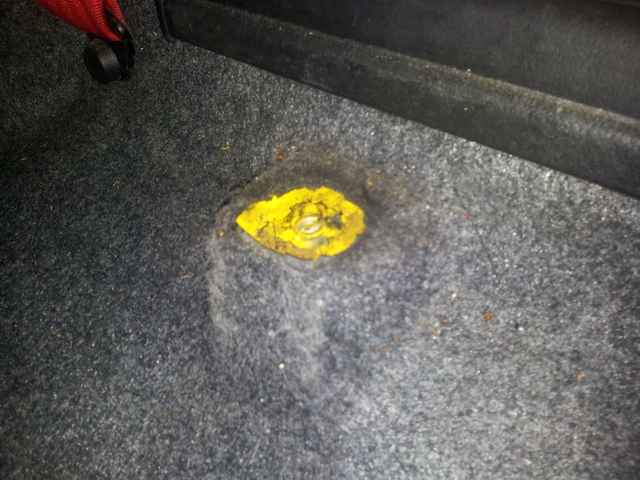
One thing I became aware of whilst sitting in the car cleaning the seats, is that one of the driver seats mounts has snapped off the floor and will need welding back in place. How on earth it got snapped off in the first place is beyond me. There is a bit of surface rust but nothing that I would expect to weaken the metal.
It should look like this.
The door pockets appeared to have a few years worth of dirt, paper and other general sticky grimyness stuck in them. The only way to clean them properly was to remove the pockets from the doors. It didn’t take too much effort to get the inside of the doors looking good again.
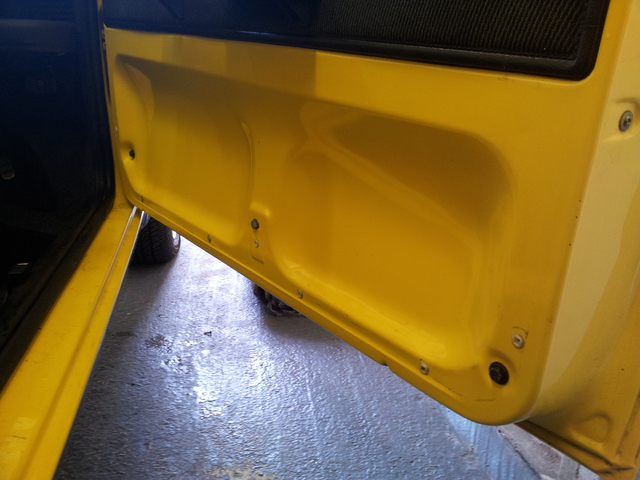
I actually forgot to take a before photo… and a photo of the cleaned pocket… maybe next time.
One thing that was bugging me a bit was the damage to the inside door handles. Now I know I could probably pick up a good tidy set for about a fiver, but I wondered if it would be possible to refurbish these ones. This is how they started.
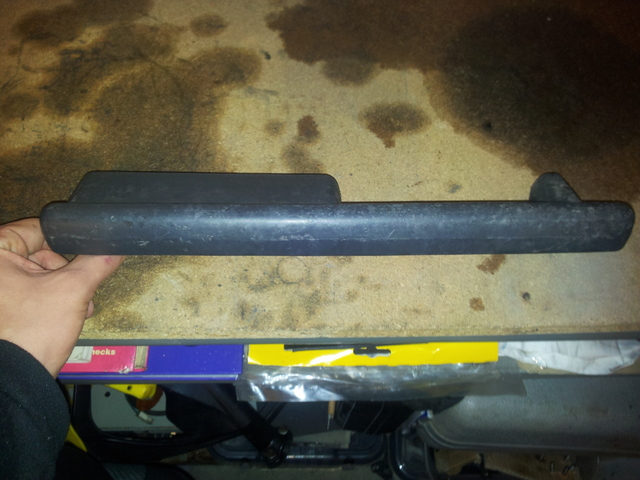
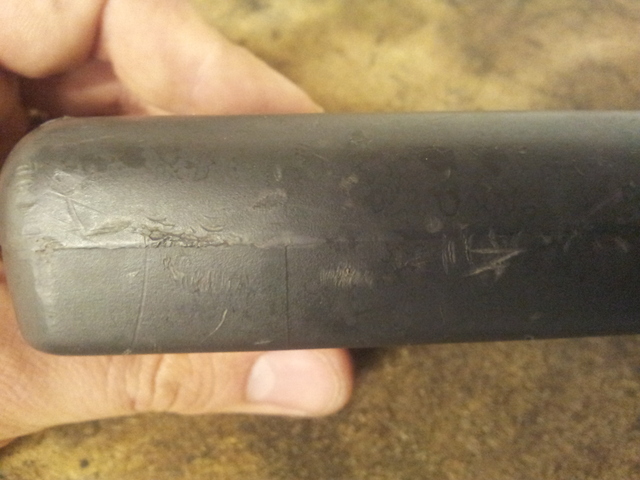
The method I took in trying to fix them was as follows. Sand with wet and dry 120 grit followed by 400 grit, then 1200 grit. Followed by a going over with some cutting compound and a quick buffering with a soft polishing wheel fitted to an electric drill. They came out pretty good, but you will have to take my work for it as I didn’t take a photo… will add one in my next post….
Ended up leaving all the car doors and windows open to help get some air flow, and let the rear seats dry out fully.
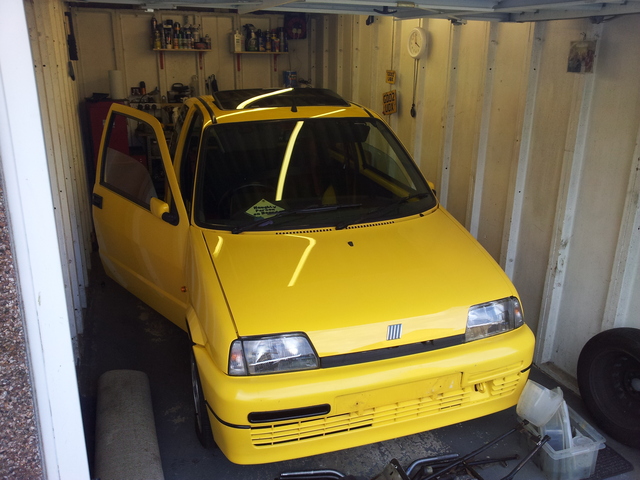
It’s a good job these cars are small, as I would never get in the garage with a bigger car.