Drum Brake Removal

I popped out to the garage this evening to put away my recent delivery of detailing products and before I knew it I was kneeling on the floor swearing at the rear drum brakes ! It’s amazing how easy it is to get distracted by the car and end up loosing an hour or two pulling parts off of it.

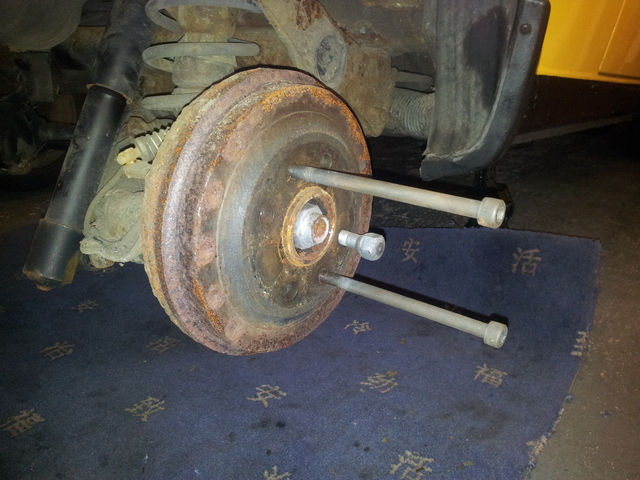
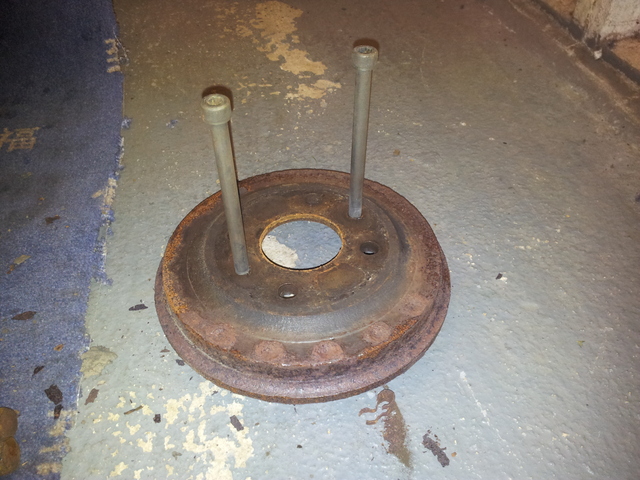
I had removed the drums on my other Cinquecento so knew what was hiding inside, along with the technique required to get the drum off. The best method I found was to screw a couple of bolts in to the two smaller holes left by the locating pin and and securing bolt.

Removing the drum

You then slowly screw each bolt in to the drum, gradually the drum is pushed away from the back plate and eventually pops off.

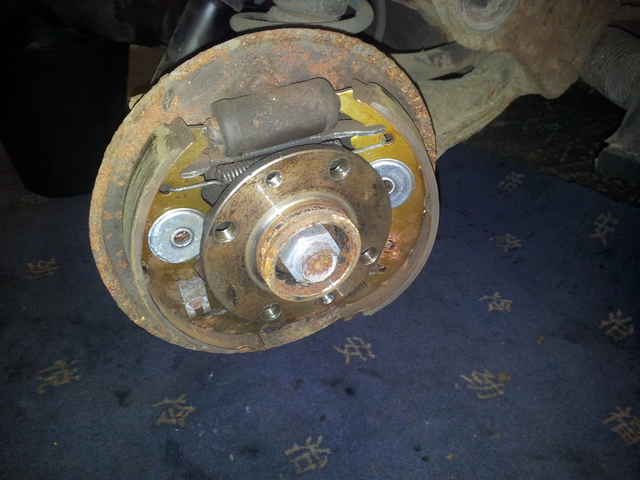
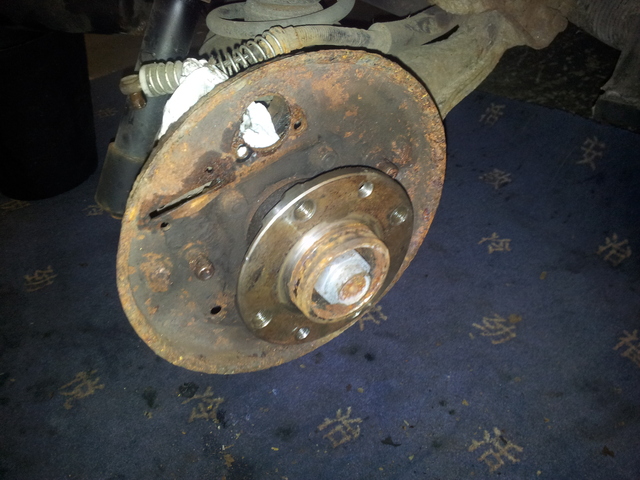
The drum is off !

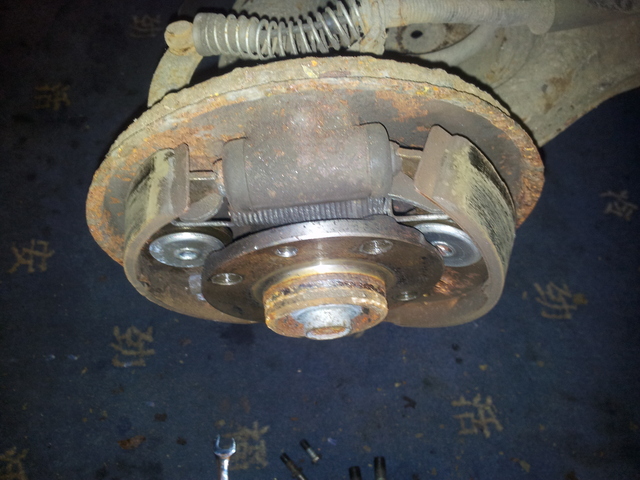
You are now left with the inner workings exposed, now this brake had been dragging and when the drum popped off it also pulled one of the stuck shoes with it, which you can see here.

Inner workings of a drum brake

Shoe falling out

Now the hard part, which is removing the two return springs, one at the top and one on the bottom of the shoes. After a few choice words along with a bit of huffing and puffing the springs were off, the shoes then came out easy as pie.

Take your shoes off

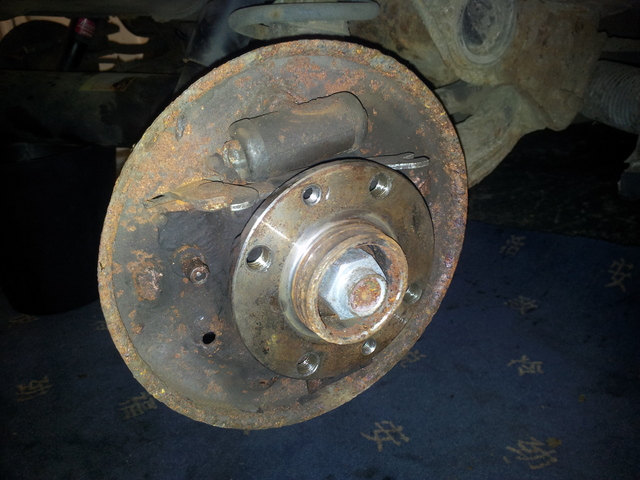
Next in line to come off was the hand brake actuator, as I expected this was seized solid and is a common problem on both the Fiat Cinquecento and Seicento. Unfortunately to remove the actuator the brake cylinder needed to come out, the bolt connecting the brake pipe to the cylinder was seized solid. I decided to just cut the brake pipe near the very end that way I can easily make another and use this one as a template, I dare say it had gone porous anyway. A couple of bolts later and the cylinder was off along with the actuator, this left me with just the back plate attached to the car.

Back plate

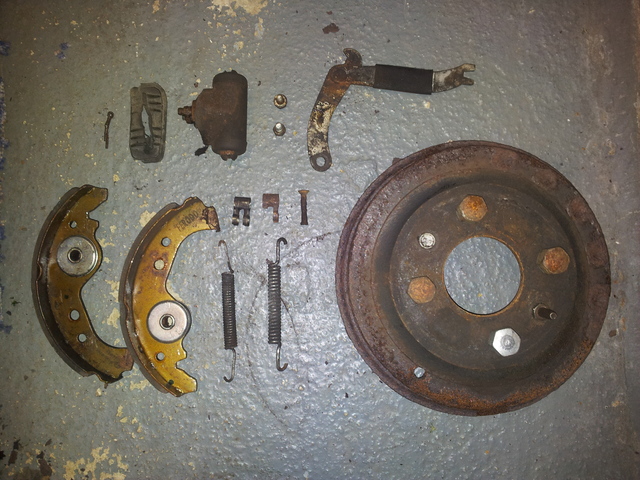
Drum brakes are very simple yet very effective, these are all the parts which made up the drum brake.

Brake parts

The majority of these parts will be replaced with new ones, the only part I will refurbish is the drum as it only has a bit of surface rust on the out side, there isn’t even a lip on the inside!

So my trip to the garage to put away some detailing products ended up with me completely stripping down one of the drums. Still it beats watching Eastenders !

Rear bumper removal

Decided it was time to have a crack at removing the rear bumper, having done this before on my other Cinquecento I knew what to expect and didn’t get any serious surprises. The only problem I had was removing the four bolts which hold the bumper mounts on to the car. Even after day of soaking in Plusgas they wasn’t cooperating and I didn’t fancy getting the blow torch involved as I have read that underseal is rather flammable…

I Ended up cobbling together a 4 foot breaker bar out of various bits I had in the garage, and using some caution was able to remove three of the four bolts ! Unfortunately one decided to round off and needed to be drilled out, but I won in the end and the bumper was off.

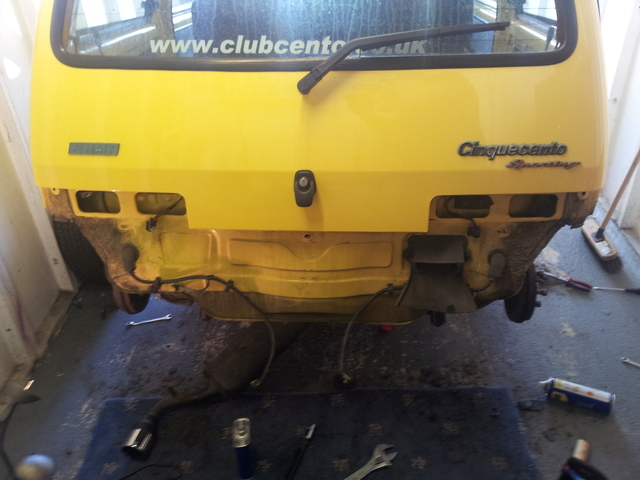
Bumper off !

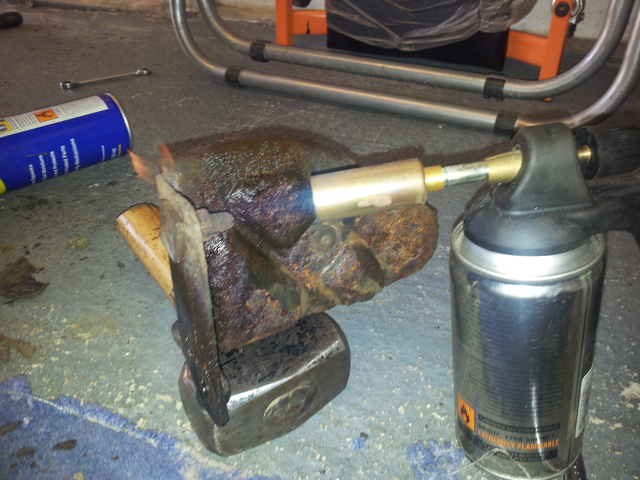
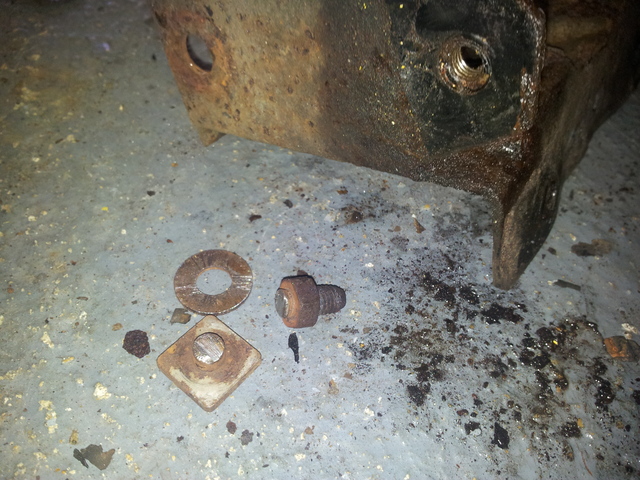
The bolts holding the mounts to the bumper were well and truly seized, even after a lot of soaking in Plusgas and a bit of this…

Fire !

I still couldn’t undo the bolt, out came the dremel and with a few seconds it was off with no damage to the bumper mount.

Cut off

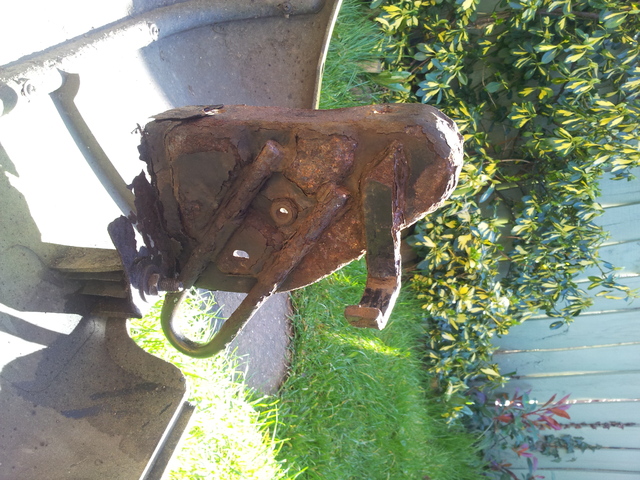
The bumper mounts are actually in reasonable condition, yes they are very rusty but compared with the swiss cheese I pulled off my other Cinquecento, I’m rather pleased and it won’t take much to sort them out. Although the other other was a little worse and a chunk came off during the removal process.

Damaged goods

I might be able to clean it up and weld a new section on to it, thats if I can find some clean metal to weld on to !

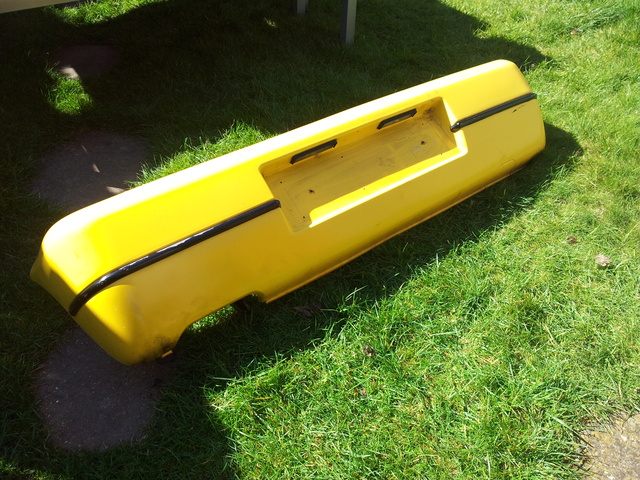
The bumper itself is in fair condition and should come up ok with a bit of Autoglym paint renovator, it has a few deep scratches but nothing a bit of filler and a can of paint can’t make good. The trim needs removing and a fresh coat of black paint applied, I will try to get some better photos when I get around to working on it.

Rear bumper

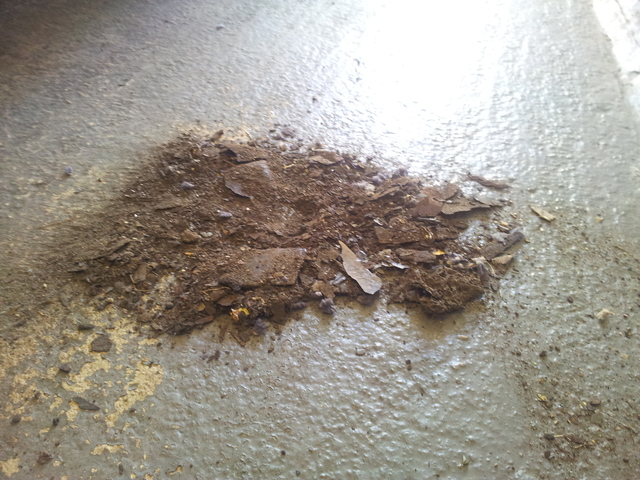
At the end of  the session I was left with a large pile of rust on the garage floor, I guess it’s shaving weight off the car ! Sums up what will be featuring heavy in my next post though…

Rust ahoy !

Attack from behind

Only had a few hours tinkering on the car this weekend, but managed to get a fair bit done.

My main priority was to remove all of the seat belts, as I couldn’t really clean them properly whilst fitted to the car. Removing the rear seat belts with the rear seats fitted would be almost impossible, so these had to also come out. I very quickly discovered that the four bolts (two on each side) that bolt upright section of the rear seats to the car were seized solid, and to make matters worse it appears Im not the first person to try to remove these bolts, as one of the bolt heads had been sheered off already, great…

After a good dose in Plusgas the bolts decided to cooperate, and came out with no issue at all. The remaining bolts all got the same treatment, and rather unusually all came out without any fuss, nice !

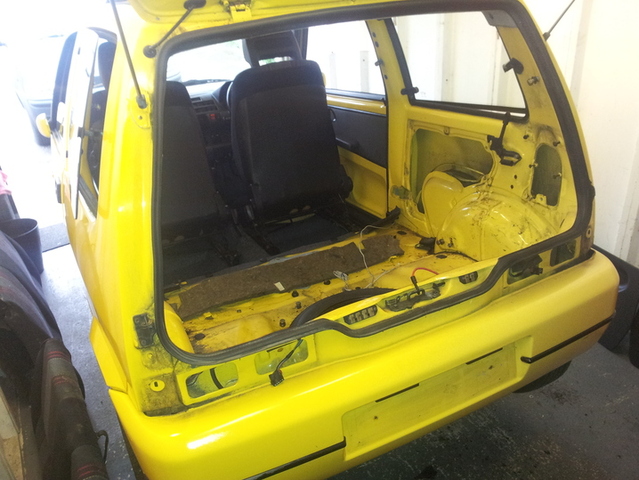
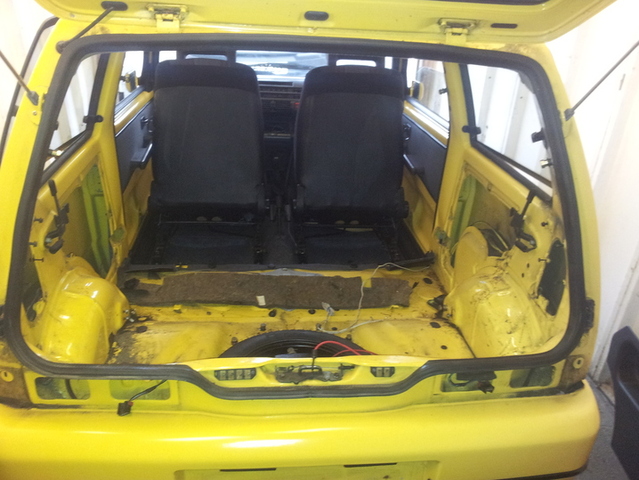
After a very short period of time the Cinq was looking a little sorry for itself.

Interior stripped

Stripped !

I had removed the rear lights and also started removing the rear bumper, but unfortunately some of the bolts were really seized and will need to be left a few days to soak in Plusgas.

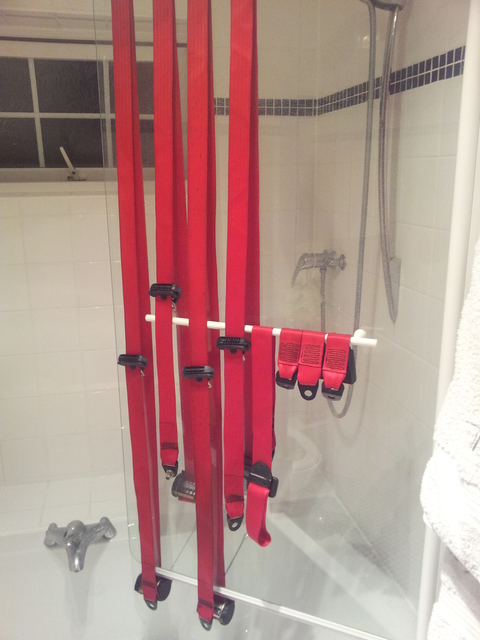
I then turned my attention to the seat belts, which were very grubby ! After left to soak overnight in a bowl of stain remover  they were still looking a bit grim, so I left them to soak another night. They still looked a bit rough so I went at them with some upholstery stain remover and a nylon brush. The amount of dirt which came out was unbelievable, the water turned dark brown ! They are still not perfect and will need another going over, as the mould has left a fair amount of dark spots.

They look better in the photo than they really are, but still a million times better than they started.

Seat belts

Hopefully I can get the bumper off next weekend, and try to gauge exactly how much rust is lurking under there…

Sun, Seats and Sunroof

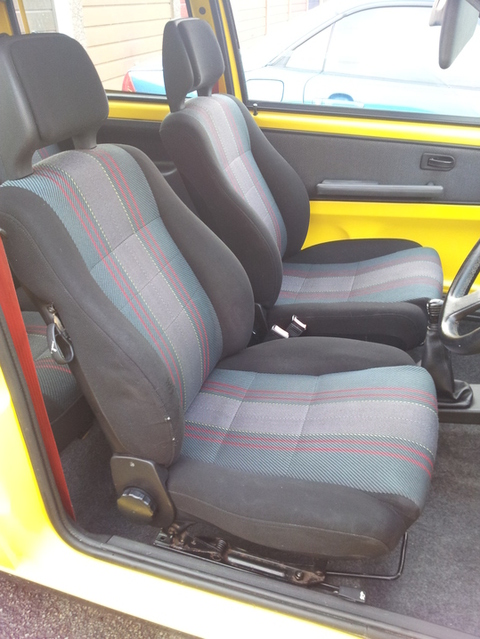
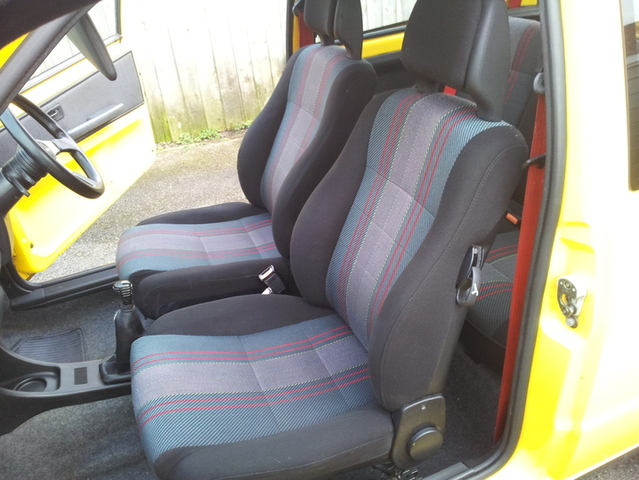
The first job today was to give the seats a final wipe over with some Autoglym interior shampoo, this was purely to remove any remaining water marks and stubborn stains. For the time being I have put the seats back in the car as garage space is in short supply, they will have to come out again when I do the welding. Looking good though, I’m very happy with the outcome.

Drivers seat

Passengers seat

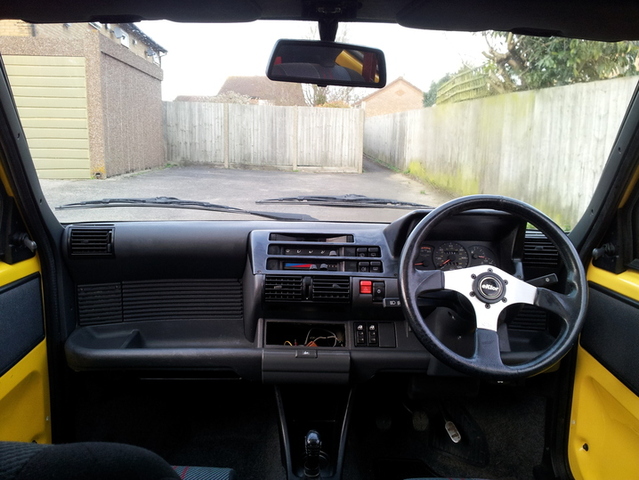
The dash got a clean, as well as the carpet followed by a quick hoover.

Dashboard

I do want to replace the dashboard as the passenger side shelf area has it’s fair share of scratches. Also the steering wheel is going to be replaced with a nice genuine Fiat one. I will also get a nice head unit at some point but this is quite a low priority.

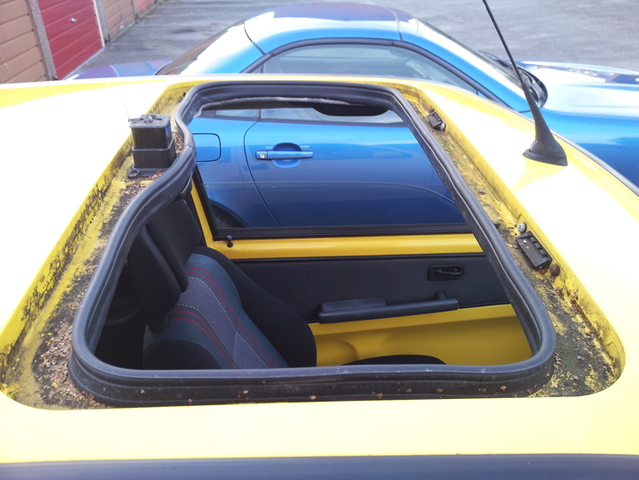
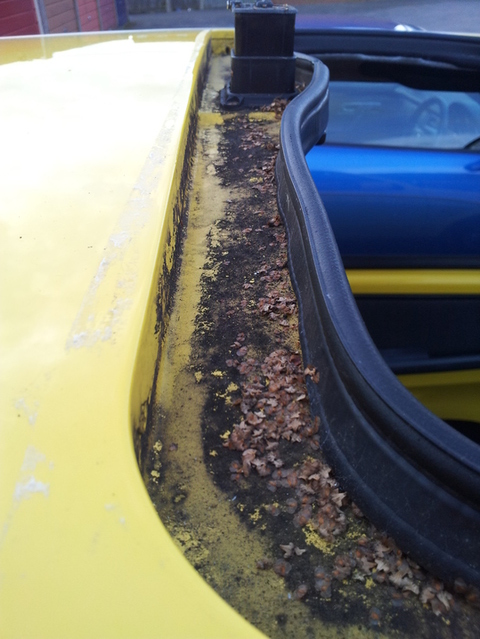
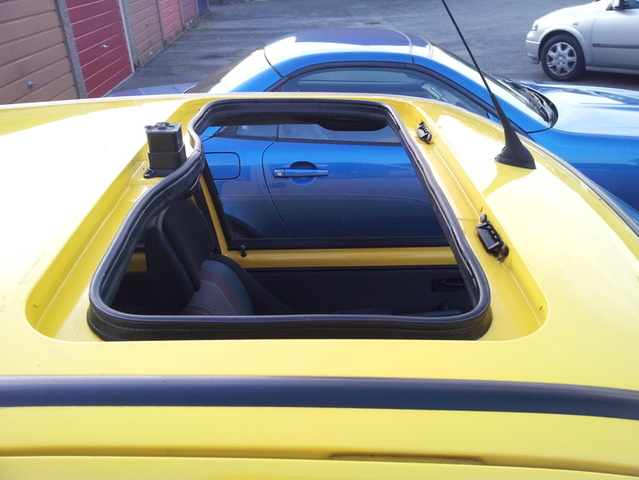
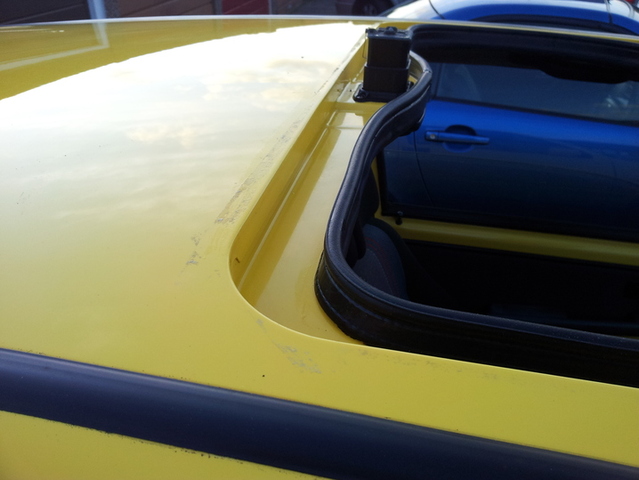
I get the impression that the sunroof leaks as there was a load of tape covering the edge stopping it from opening. The majority of the tape came off when I cleaned the car, but I do need to get something which can remove the sticky mess left on the paint. It appears the car was parked under a tree for a while as the amount of little leaves, dirt and grime under the sun roof was unreal ! This is how it was after I removed the sunroof.

Dirty sun roof

Close up of the dirty sun roof

After a bit of elbow grease it came up looking good as new !

Good as new

Close up of the clean sun roof

I discovered why it would have been leaking as well. All four drain holes were completely blocked ! A few minutes later with a long piece of flexible cable and all the holes were clear and draining away nicely.

Was a bit fiddly getting the sun roof back in, but got there in the end. If I get some spare time tomorrow I will have another little tinker with the Cinquecento, or I might wash Minty (the green one) as she is currently filthy from last weeks commute.

Mould 1 Kevin 0

After cleaning the front seats with a proper wet and dry vacuum cleaner, I though the mould was gone and the seats good as new(ish). How wrong could I be ! After sitting in my spare bed room for a couple of days drying out, the mould started to re appear again mainly on the seat base.
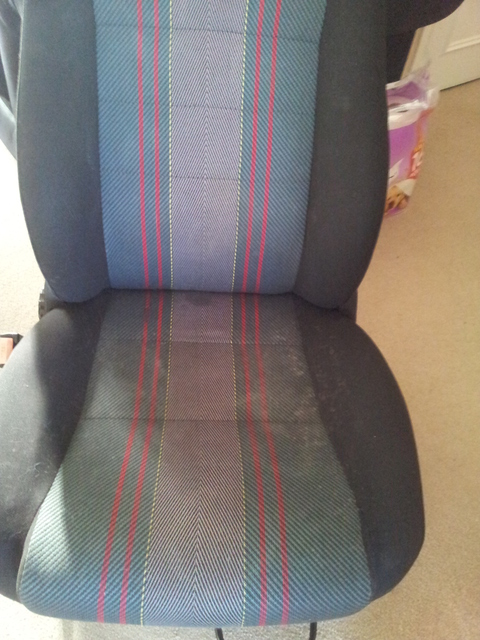
Mould has returned !

After doing a bit of research I found a product on a car detailing forum, which had good reviews when it came to removing mould. The product contains an enzyme which breaks down organic matter, which should hopefully kill the mould for good. It is also supposed to remove bad smells as well.
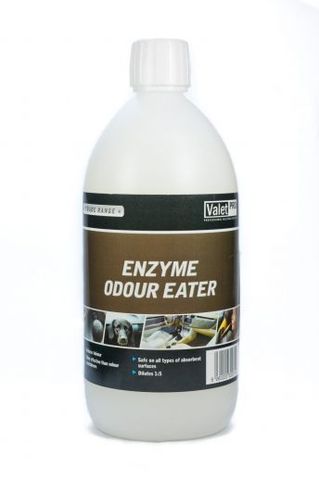
Odour Eater

I can confirm that it does smell very nice, and has certainly got rid of the mouldy smell. The mould also has appeared to stop growing, but has left some staining which I have yet to attack properly with a more intense upholstery cleaner. This is how the seats are looking now.
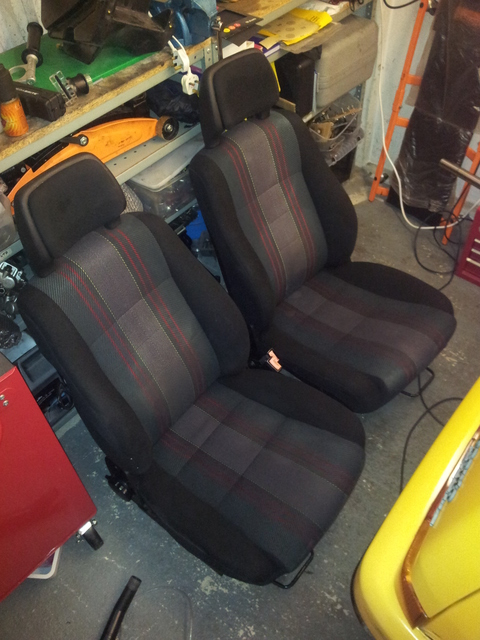
Clean(ish) seats

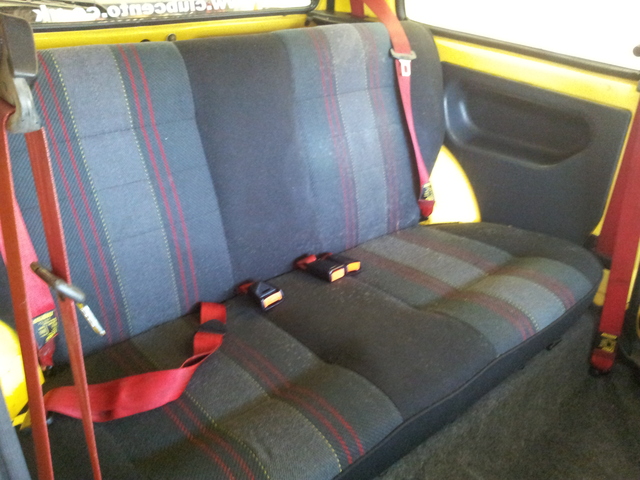
Rear seats after a quick wipe over.

Wiped over

Rear seats after one go over with the wet and dry along with the mould killer.
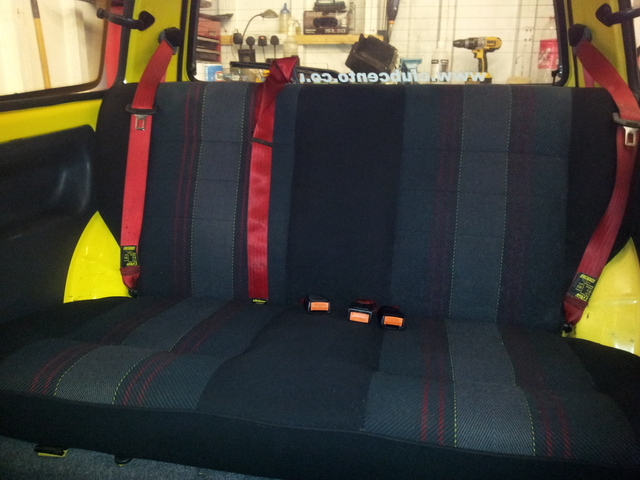
After a wet and dry clean

Once I give the seats another clean with some harder cleaner, hopefully they will be ready to be refitted and the stains and mould gone for good.

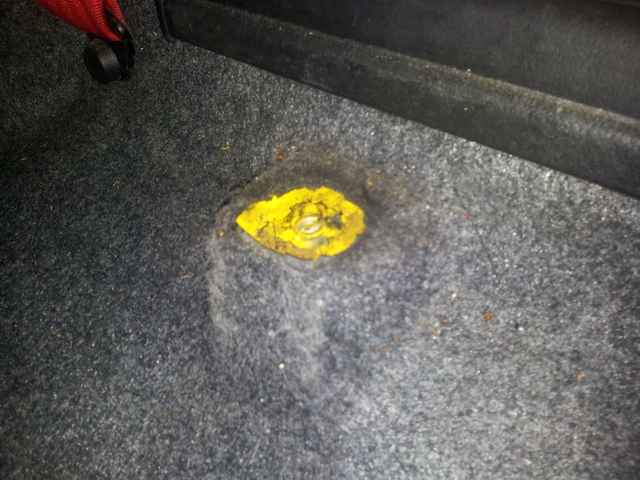
One thing I became aware of whilst sitting in the car cleaning the seats, is that one of the driver seats mounts has snapped off the floor and will need welding back in place. How on earth it got snapped off in the first place is beyond me. There is a bit of surface rust but nothing that I would expect to weaken the metal.
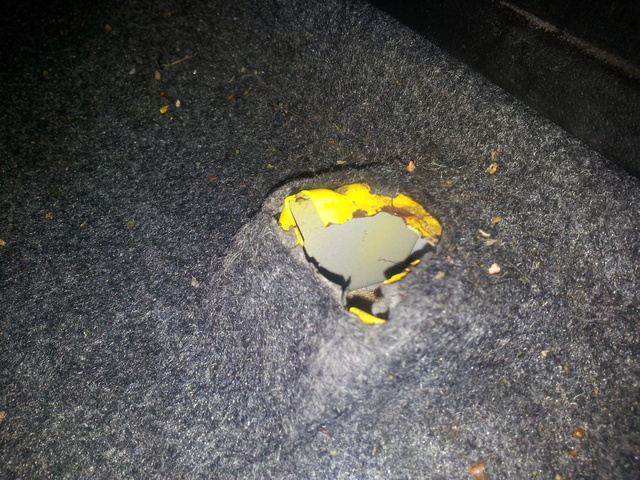
Broken seat mount

It should look like this.

Passenger side mount

The door pockets appeared to have a few years worth of dirt, paper and other general sticky grimyness stuck in them. The only way to clean them properly was to remove the pockets from the doors. It didn’t take too much effort to get the inside of the doors looking good again.
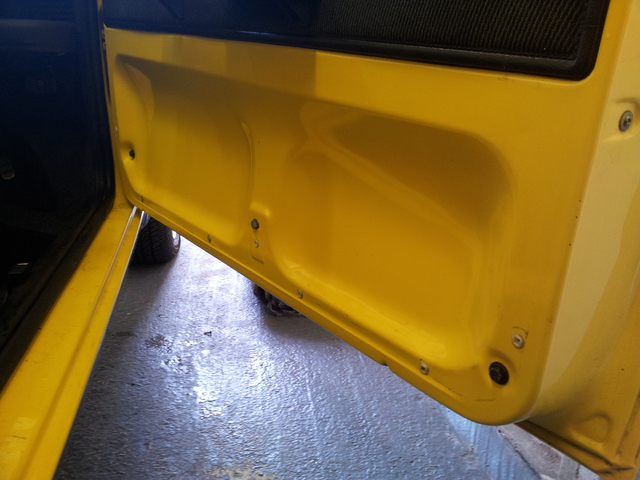
Inner drivers door

I actually forgot to take a before photo… and a photo of the cleaned pocket… maybe next time.

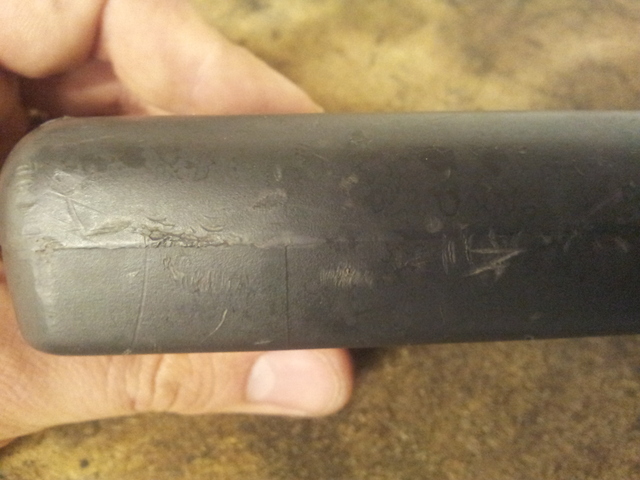
One thing that was bugging me a bit was the damage to the inside door handles. Now I know I could probably pick up a good tidy set for about a fiver, but I wondered if it would be possible to refurbish these ones. This is how they started.
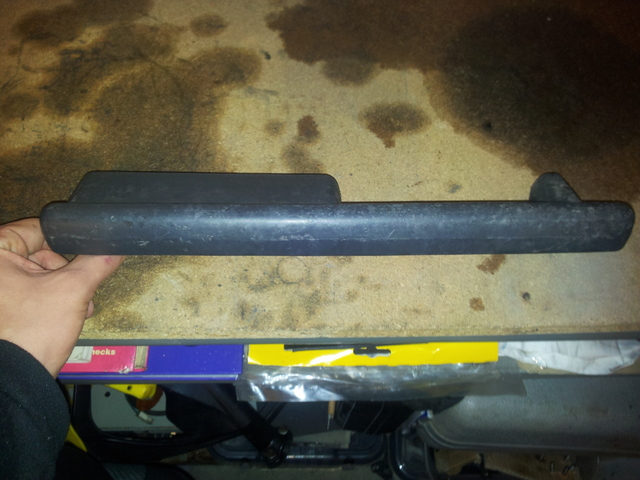
Inside door handle

Zoomed in inside door handle

The method I took in trying to fix them was as follows. Sand with wet and dry 120 grit followed by 400 grit, then 1200 grit. Followed by a going over with some cutting compound and a quick buffering with a soft polishing wheel fitted to an electric drill. They came out pretty good, but you will have to take my work for it as I didn’t take a photo… will add one in my next post….

Ended up leaving all the car doors and windows open to help get some air flow, and let the rear seats dry out fully.
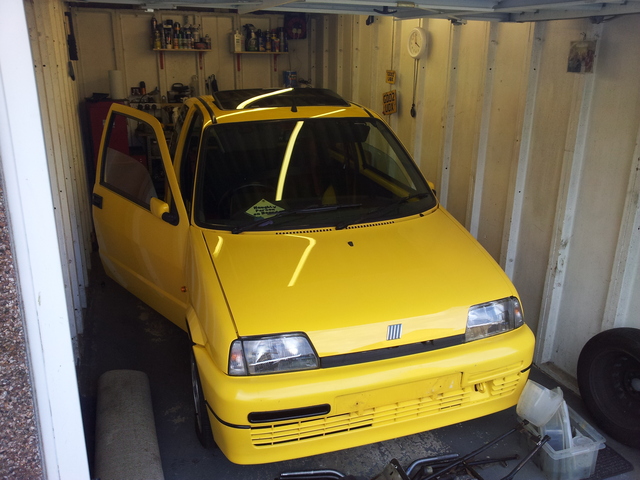
Drying out

It’s a good job these cars are small, as I would never get in the garage with a bigger car.