Rust assessment

I had a rather filthy day with the Cinquecento, my main focus being on cleaning and painting the trailing arms, along with grinding back some of the rust on the car, so that I can assess how much new metal needs to be welded in.

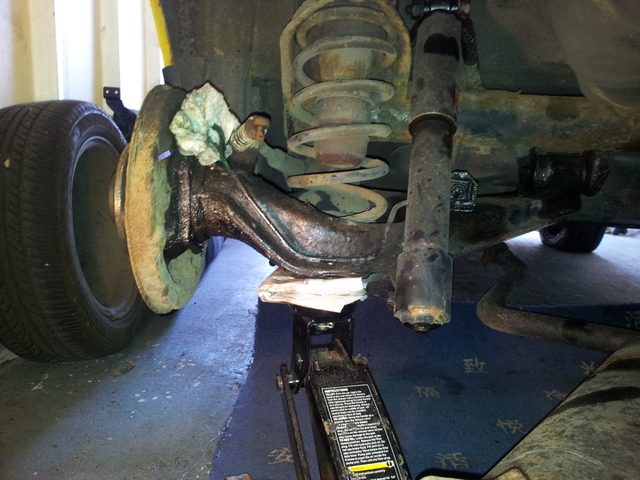
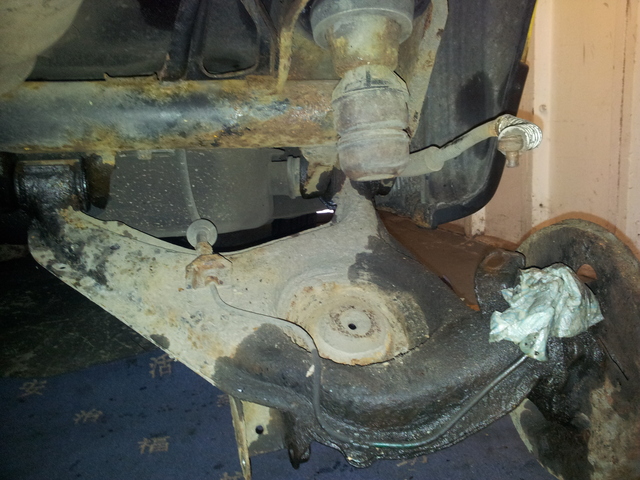
First up was the trailing arms, although due to the constant heavy down pours of rain, I only managed to get one cleaned and painted as space is rather limited in the garage at the moment so I had to do them in the garden.

After a going over with a wire brush on an angle grinder we had this.
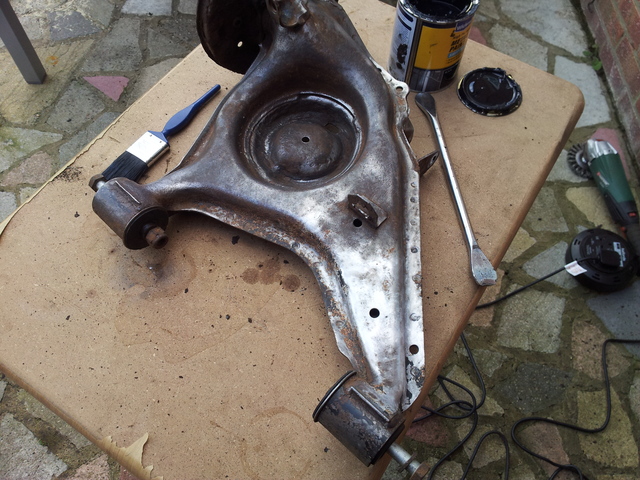
Nice and shiney

I do appologise for the poor quality of the after photos, only I had to move to the shed as the heavens opened !
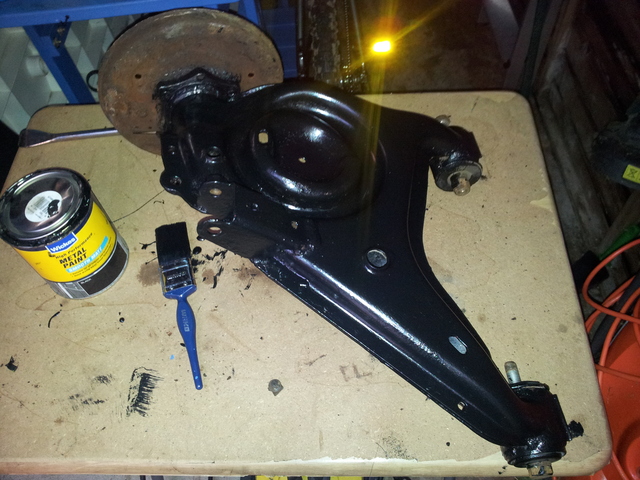
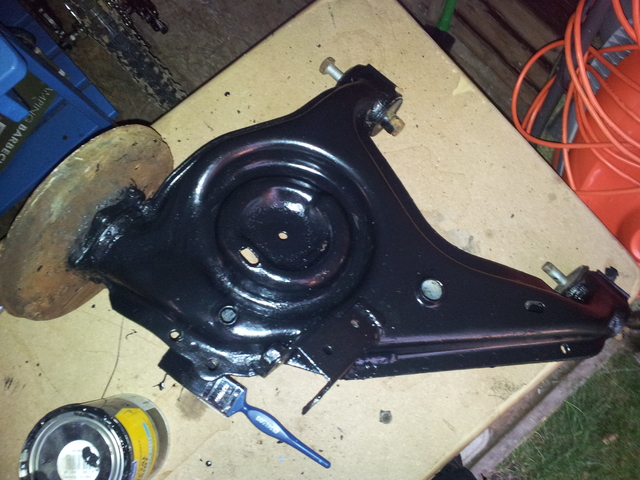
The observant will notice I didn’t paint the brake back plate, this is because I have decided to replace them due to corrosion creating a few extra holes, only I forgot to remove the hub nut and couldn’t get them off without the arm bolted to the car, DOH !

I then moved in to the garage to clean the rust from the holes shown in my previous post. It was actually quite a relief to see some nice shiny metal, as I though the rust was going to go on forever, leaving me with nothing to weld to.

This back corner appears to be completely solid which I was surprised about, as it had a fair amount of rust which turned out to be just on the surface.
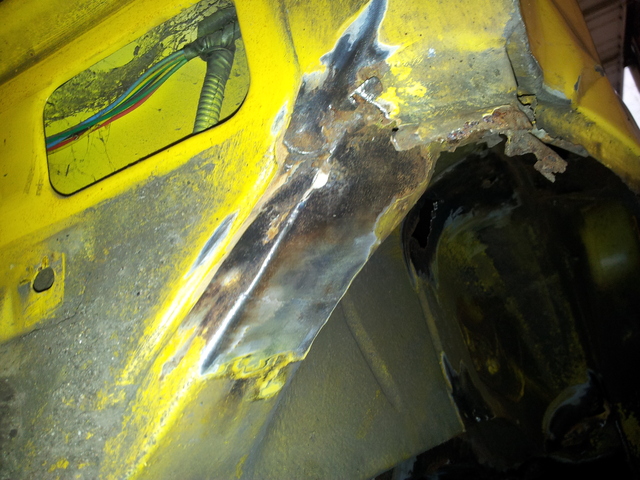
Off side rear corner

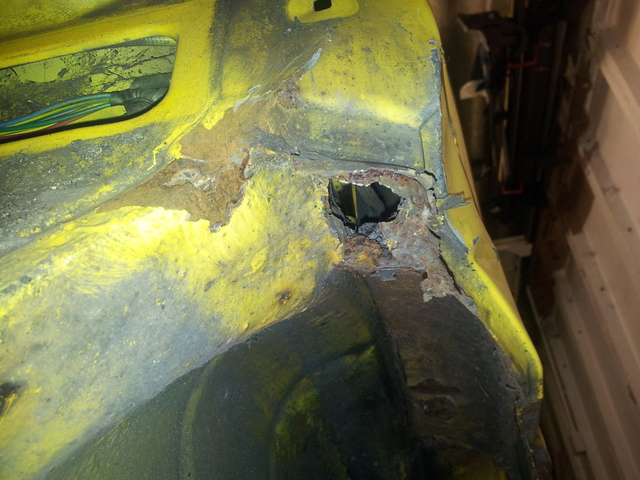
Unfortunately I did manage to create a couple of more holes on the inside of the wheel arch, as the rust had completely gone through to the inside of the car. A couple of small plates welded in should sort this out.
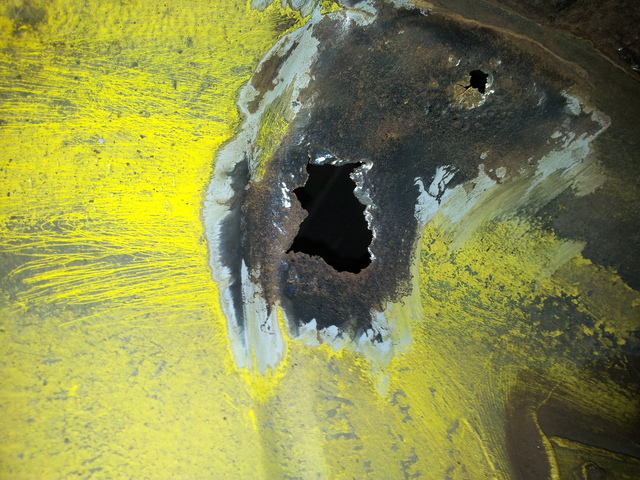
Inside wheel arch holes

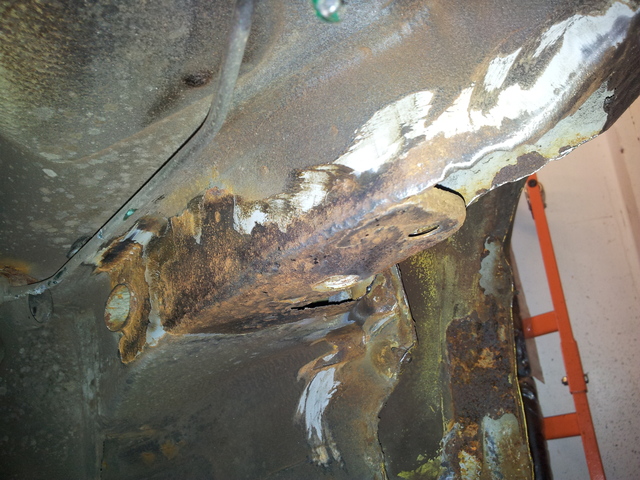
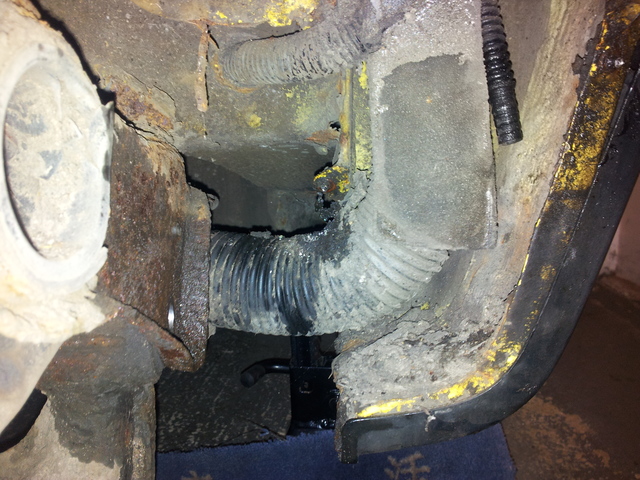
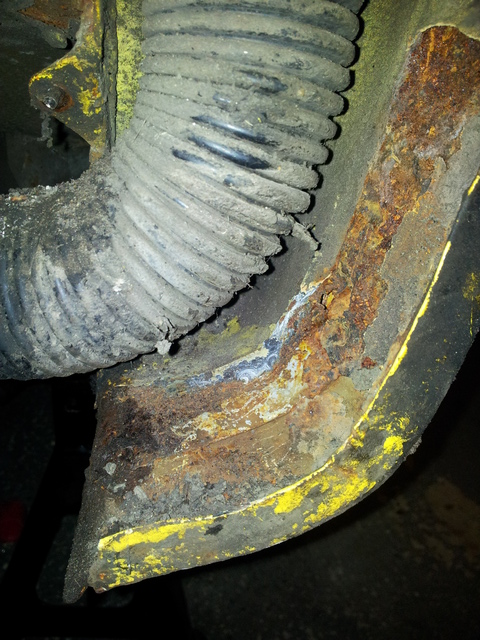
The holes underneath didn’t grow much in size when attacked with the grinder, which was a relief. Do you think I will have to cut out the pitted metal, or would a rust converting product from the likes of Frost make it safe to leave in and weld to ?
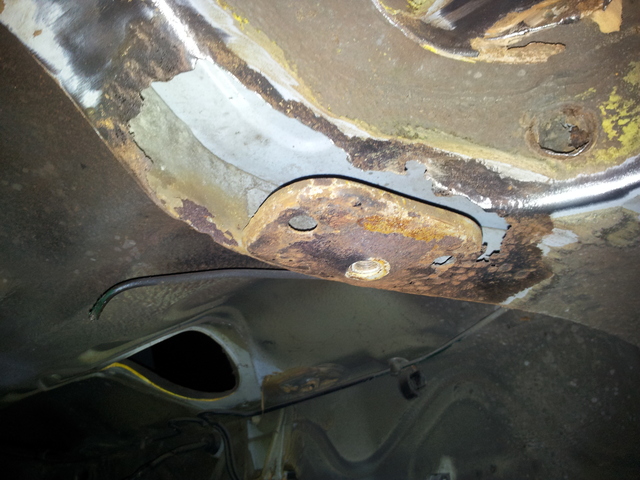
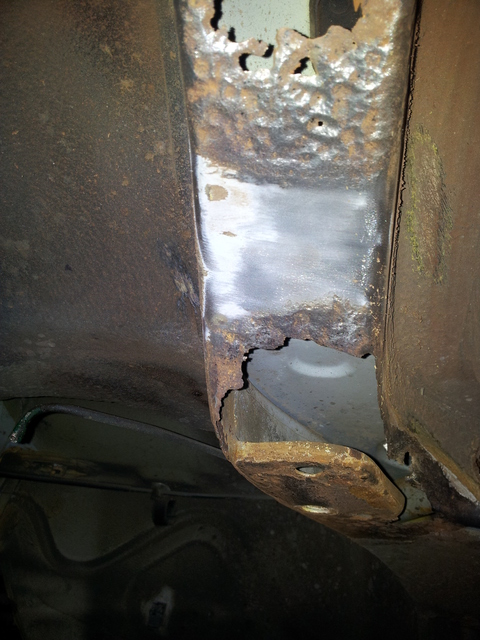
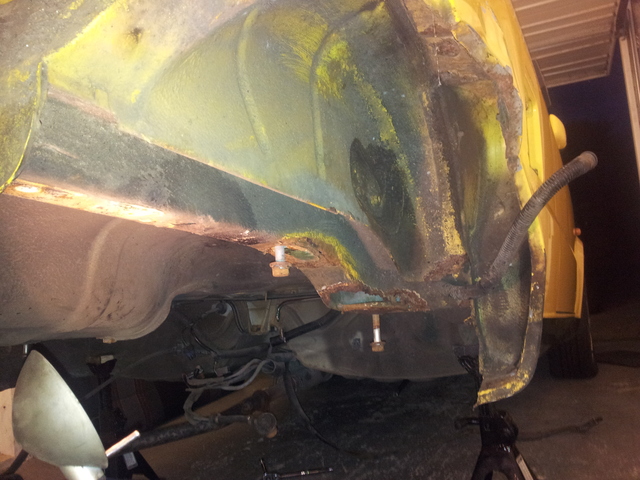
Drives side rear chassis rail

Pitted metal

Front of the rear drivers side chassis rail This looks worse than it is as a lot of what appears to be rust is just griding dust I forgot to wipe off.

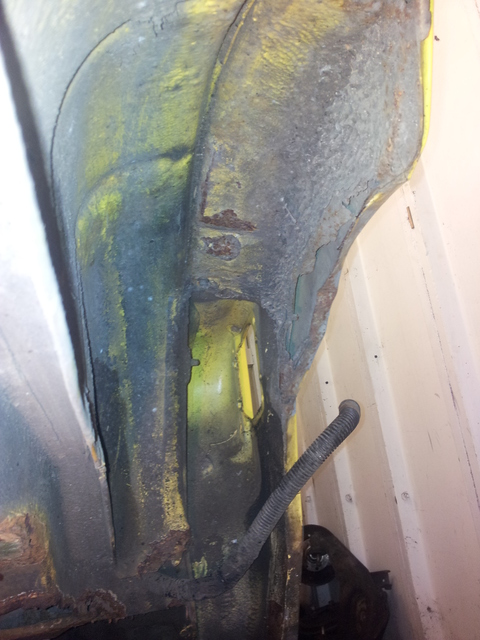
Even the inner wheel arch actually has some solid metal ! I might get away with a few repair panels, rather than trying to fabricate a complete inner wheel arch. I still need to get in there a bit more though with the grinder.
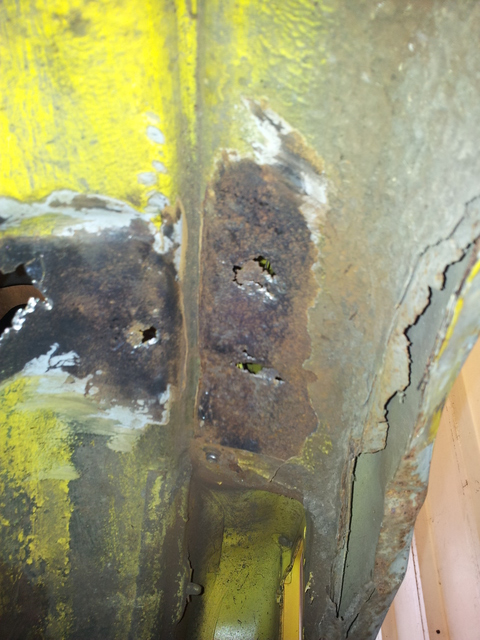
Drivers side inner wheel arch

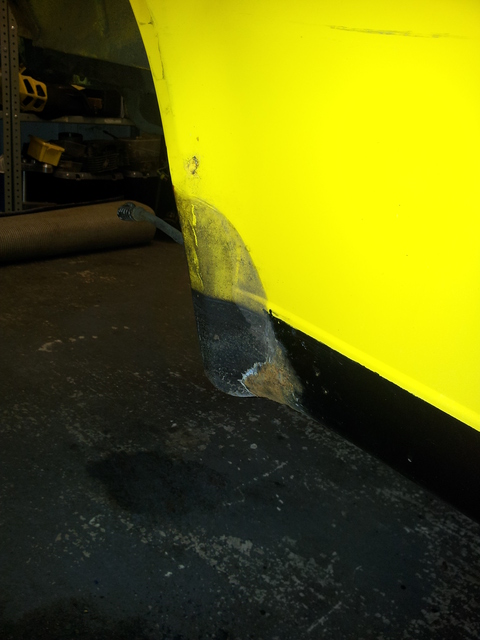
The only section which was worse than I expected was the outer lower arch, the plastic cover has held moist dirt on to the metal causing this corrosion, there is a tiny hole which you can’t even see in the photo which needs filling, I reckon it could be filled with a splash of weld ?
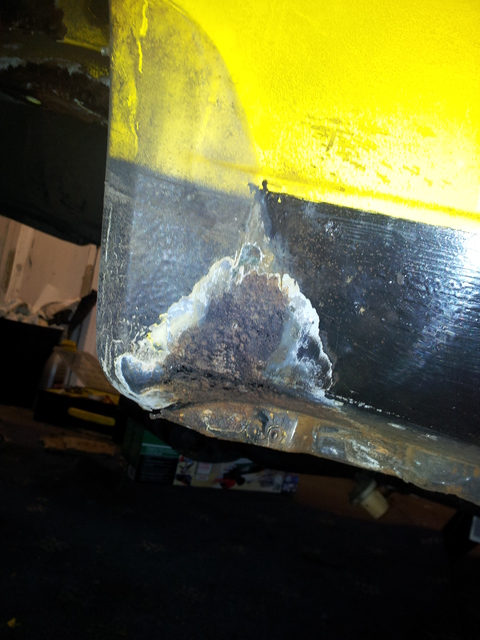
Tiny hole

All this and I haven’t even properly looked at the near side, hopefully it won’t be quite as bad ! Although I have to say it is nice to see where the rust stops and that it should be repairable with a few long sessions with the MIG welder.

I cannot wait to start welding the new metal in, and then get some quotes to have the crash damage repaired.
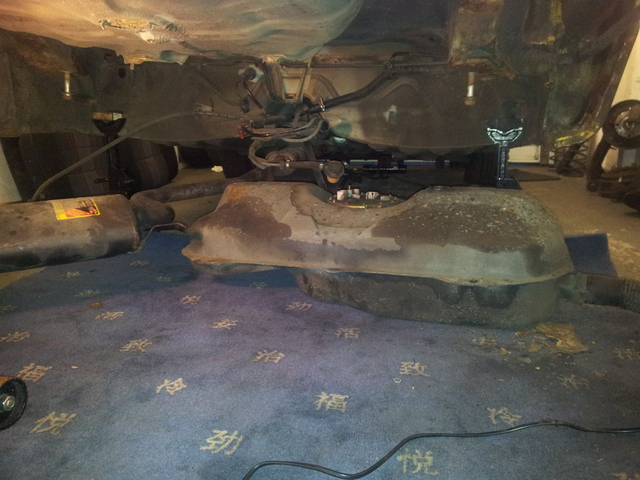
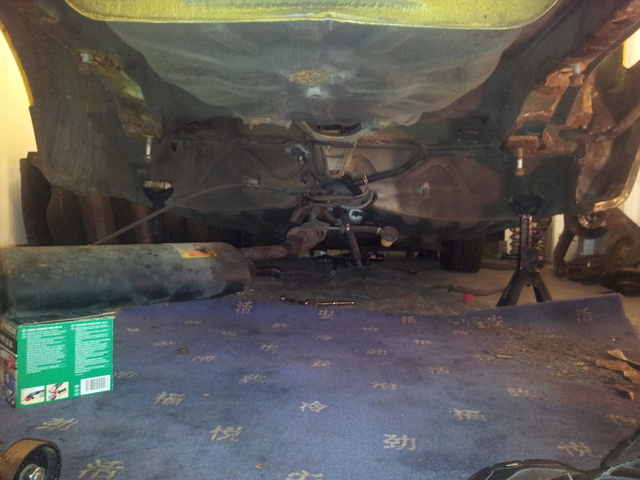
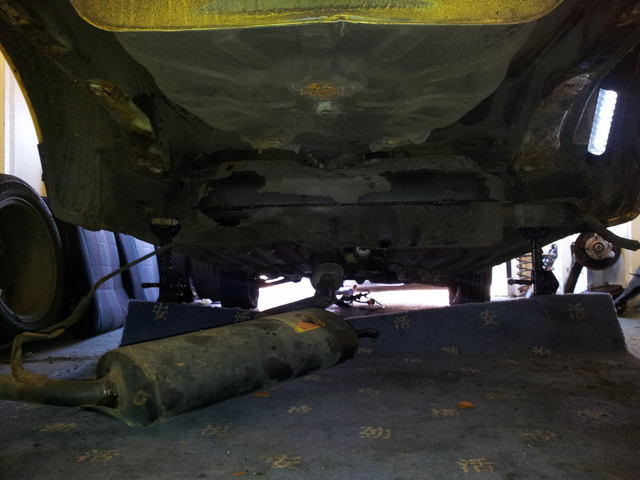
Fuel tank removed

After a busy couple of weeks I managed to grab a few hours out in the garage. The main areas I wanted to focus on was removing the fuel tank and making a start on assessing how much rust there really is.

Before I could get access to the areas effected by the rust the fuel tank had to come out. This is straight forward as it’s only being held in by one bolt and two nuts, as I removed the other two bolts when the beam came off. Oh and don’t forget the couple of plugs and hoses going in to the fuel pump.

Fuel tank dropped

There was a few litres of fuel left in the bottom of the tank, so I drained this out in to a jerry can as I wasn’t keen on filling the garage with fuel vapor…

Access at last !

Rear end completly stripped

After a short period of time with a wire brush and a screwdriver, I had managed to dislodge a fair bit of rust leaving me with a few holes….

Inner and outer arch seperated

You can see where the rust has caused the Inner and outer arch to separate, I haven’t yet had much more of a poke around in that area, the worst area was where the beam bolts to the chassis.

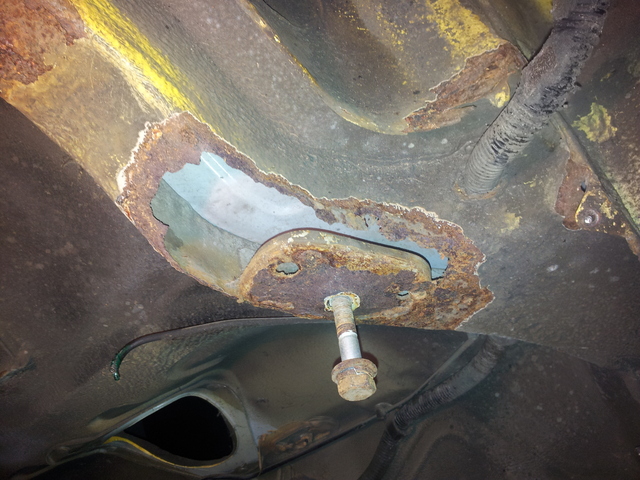
Eak

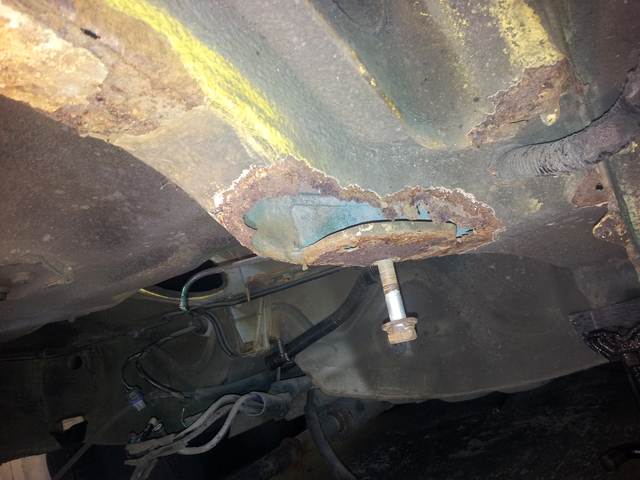
The plate the bolt is screwed in to was solid and only had light surface rust, the rest crumbled to nothing leaving that huge hole and a less severely rusted edge. I can already tell the other side will be very similar. Another angle.

rust

The back rear beam mount has some rust but not as bad as this. I decided to call it a day as I really wanted to crack out the angle grinder with wire wheel attachment but it’s getting late and I don’t have very tolerant neighbors…maybe next time.

Just a couple more photos

Wide angle

The back right corner has some corrosion as well…from this angle you can see where the panel is bent in from the bump the car had, this should pull out no problem when I take it in to the body shop.

Rusty bent corner


Rear suspension and beam

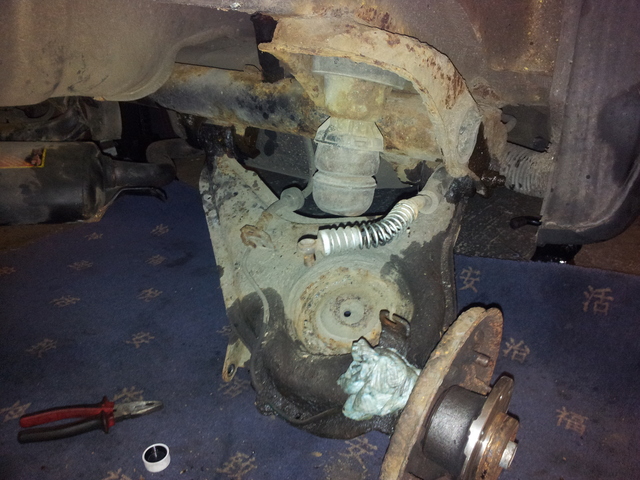
Now the rear brakes have been stripped down I wanted to get the rest of the rear dismantled, this being the shocks, springs, arms and rear beam. Now the photos are a mixture of both sides of the rear as I kept forgetting to take them, as it goes it wasn’t a bad task to under take.

First of I lightly supported the weight of the rear arm with a jack, this took some of the strain off the shock and made it much easier to get the bottom bolts out.

Support the arm

Once the bottom bolt was out it was just a case of pushing the arm down and the spring was free and could be removed.

Springs removed

Another view with the spring out

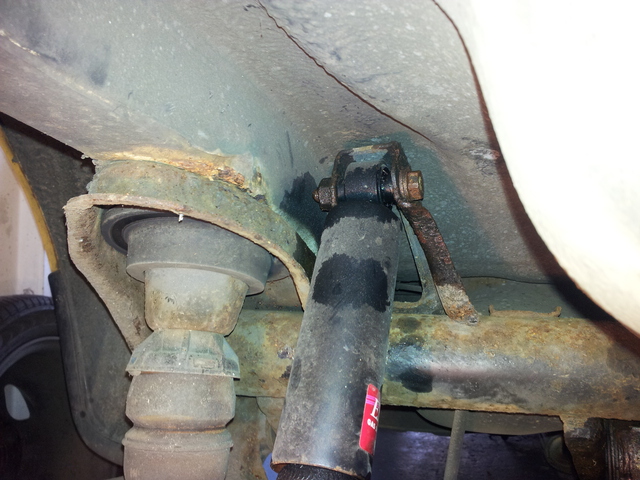
A bit of Plusgas on the top shock mounts was all it took to free off the bolts, which came out with little fuss although it was a bit tricky get a spanner/socket in the gap and on to the nut.

Top shock bolt

Suspension free

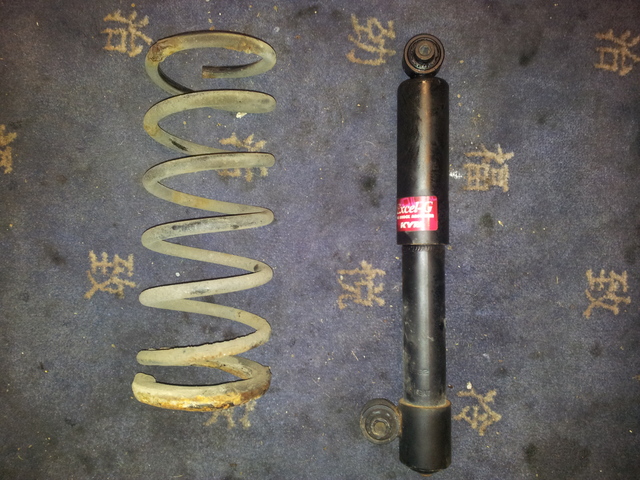
The shocks were actually in really good condition, these will be cleaned up and put back on the car in the future. The springs were also pretty good although a bit grubby with some light surface rust, I might see if I can get some flexible paint to refurbish them with or maybe even powder coat them.

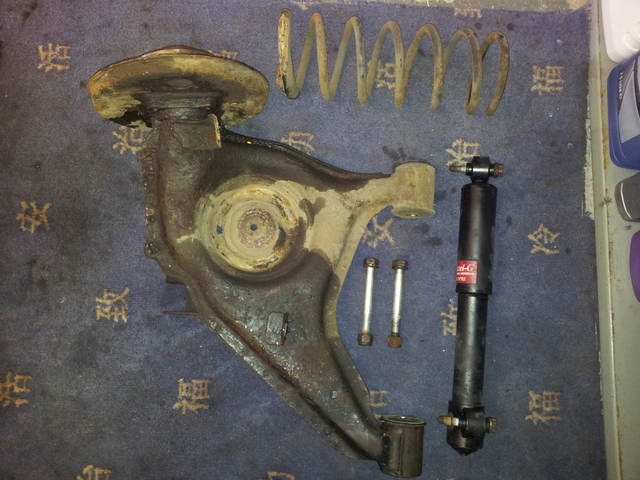
The bolts holding the rear arms on came off without a fight, although it did take a fair bit of force to get them going and some lubricant to ease them out.

Rear suspension complete

Again the arms are in great condition and just require a going over with a wire brush, followed by a coat with a decent rust preventing metal paint in satin black. To get the arms off I had to cut the other end of the brake pipes,  as the ends were seized on to the flexible hose.

Stripped suspension

Looking bare down at the rear now.

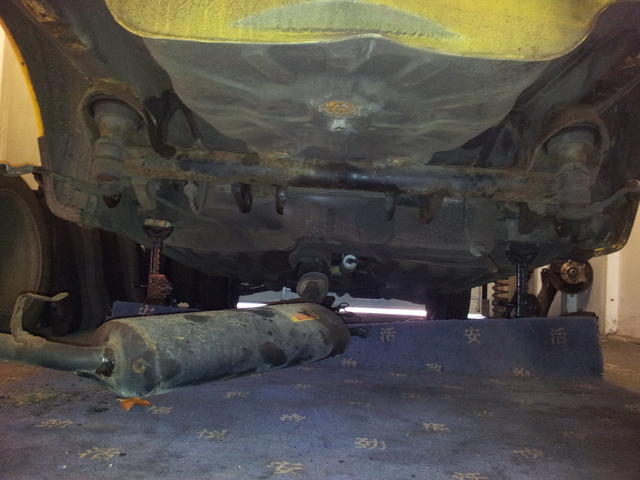
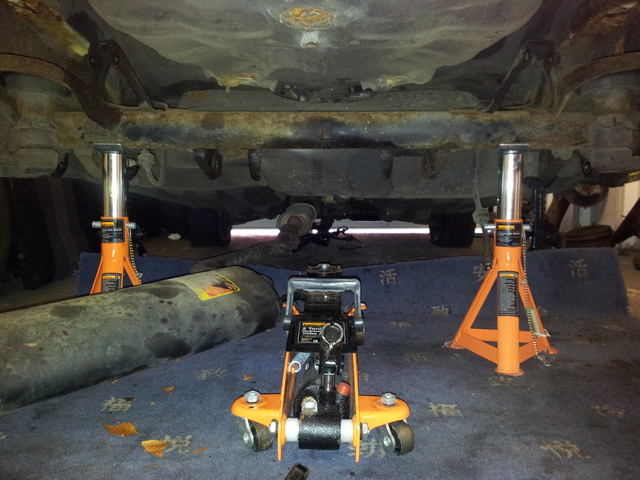
Next in line was the rear beam, I read on the forum that the beam is heavy so I took extra precaution when it came to taking it off. The beam is only held on with four bolts which came out nice and easy, before I completely removed the bolts I supported the weight of the beam with a trolley jack. After pulling the bolts out I lowered the beam on to a couple of axle stands.

On the axle stands

I promptly realised the beam was snagged on something, this turned out to be the flexible brake pipes which needed a couple of retaining clips knocking out. I tried to lower the beam again but it was still stuck, I then twigged that the rear fuel tank mounts bolt to the beam, and that I forgot to undo them !

Shame on me as I have changed the fuel tank on my other Cinquecento and should have remembered, and the exact same thing happened as well…when I tried to remove one of the two bolts, the bolt sheered leaving a stud in the beam .

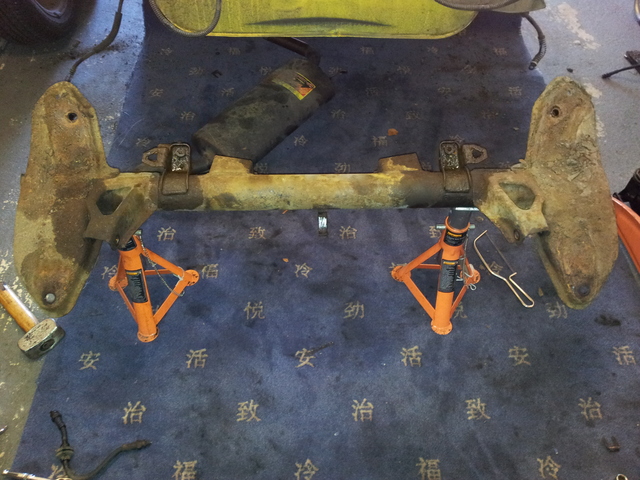
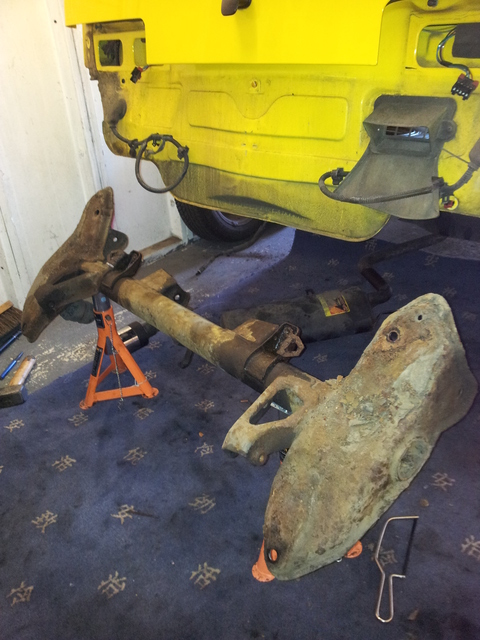
Now the beam is completely free and I was able to lower it down on the stands and pull it out from under the car.

Beam from the top

Rear beam from the side

The beam has a fair amount of rust some of which is quite deep, I will give it a clean up and decide whether to replace it or not, although I have a feeling it will need to be replaced.

The only thing left to remove before I can start cleaning the metal and assess the rust is the fuel tank, I think I will do this next time as the weather was scorching and the garage gets bit warm !

Looking bare

The other parts I removed were the off side wheel are inner and outer plastic covers, both of which unearthed more rust. The securing bolts all rounded and needed drilling out, might try replacing the nuts with rivnuts.

Surface rust

This rust on the outside isn’t too deep, and might not require any welding but I will see what its like after a go with a wire brush. The inside is looking a little worse and the amount of mud sat behind the cover was quiet unbelievable, and I guess the cause of the rust as it was holding moisture on the metal.

Look at all that mud

A moment spent scarping the mud and dirt away left me with this.

Rust

The outer skin appears ok but the inner skin which I guess is part of the inner wheel arch panel has some deep rust, mainly in the bottom section where the dirt was collecting. Again I will clean it up with a wire brush and see what attention it needs.

I got a fair bit done in this session and I don’t think I will have much time to get out next weekend as it’s Easter and I have a fair bit planned with the family.

I have however just bought an angle grinder and wire wheel attachment, that should make cleaning up the rusty metal a whole lot easier ! Bring on the sun shine.